How to Build a Custom Instagram Auto-Responder using Self-Hosted n8n and Meta Webhooks
A complete guide to automating your Instagram DMs by connecting Meta Developer Graph API webhooks to a self-hosted n8n instance.
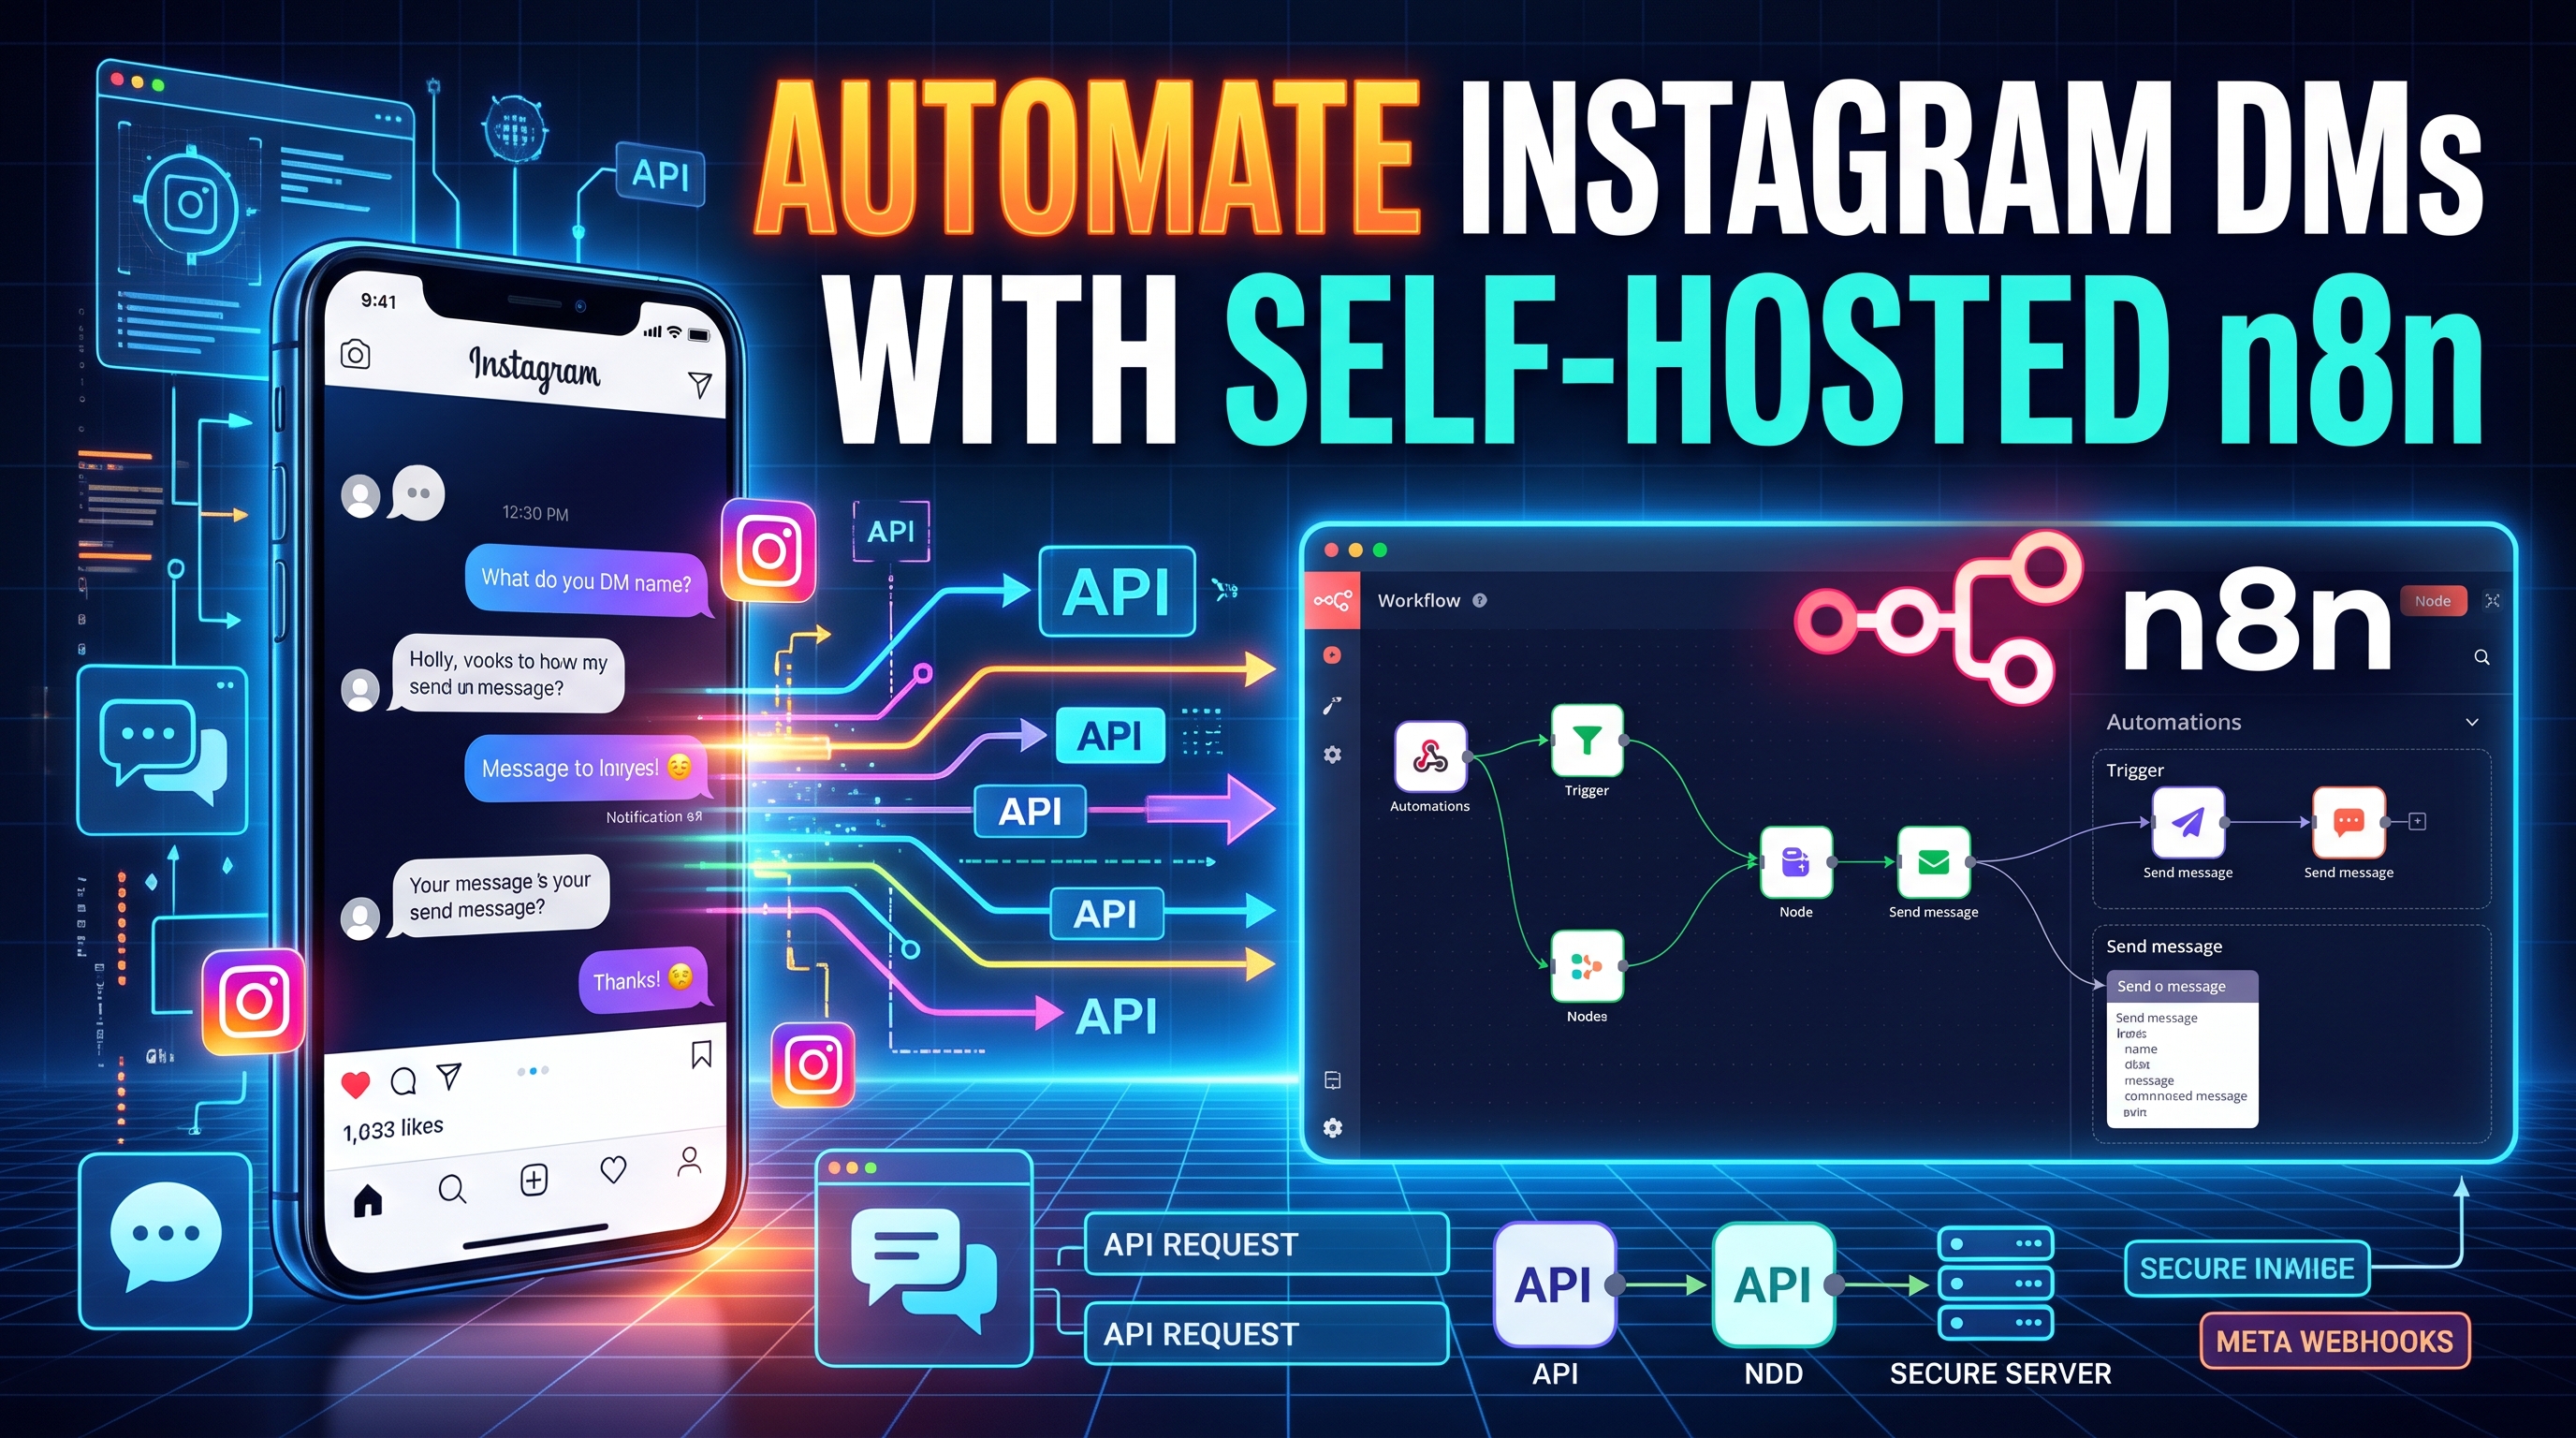
The Power of Open-Source Automation
If you are managing high-volume social media accounts, responding to every Instagram Direct Message manually is a massive bottleneck. While SaaS platforms charge premium monthly fees for chatbot features, you can build a completely custom, zero-cost auto-responder by integrating the Meta Graph API with a self-hosted n8n instance.
Here is the technical blueprint for wiring Meta webhooks to your n8n workflows.
Step 1: Configuring the Meta Developer App
Before n8n can receive messages, you need to create an app in the Meta Developer Portal and configure the Messenger/Instagram product.
- Generate a Page Access Token for the Instagram account linked to your Facebook Page.
- In the Webhooks section, you need to provide a secure endpoint. This will be the production webhook URL generated by your n8n Webhook node.
- Ensure your OAuth settings are properly configured with the correct redirect URL rather than a standard callback URL, especially if you are handling token generation dynamically.
Step 2: The n8n Webhook Challenge (hub.challenge)
Meta requires you to verify your webhook endpoint before they start sending live data. When you input your n8n URL into the Meta dashboard, Meta sends a GET request containing a hub.challenge token.
In your n8n workflow, configure your initial Webhook node to listen for GET requests. Add a simple expression in a Respond to Webhook node to return exactly the {{ $json.query['hub.challenge'] }} value. Once Meta receives this echo, your webhook is officially verified and subscribed to the messages field.
Step 3: Parsing Payloads and Triggering Responses
Change your n8n Webhook node to listen for POST requests. When a user sends a DM, Meta will push a JSON payload containing the sender's ID and the message text.
Your workflow should:
- Parse the incoming JSON to extract the user's specific query.
- Filter out edge cases (for example, ensuring you don't accidentally trigger an infinite loop if the system clicks a short message prompt).
- Use an HTTP Request node to send a
POSTrequest back to the Meta Graph APImessagesendpoint, passing the Page Access Token in the header and the auto-response text in the body.
The Takeaway
By self-hosting n8n (for example, on a lightweight Azure VM behind a dynamic DNS), you retain complete data sovereignty and avoid restrictive SaaS execution limits. You can expand this basic auto-responder by injecting OpenAI nodes to analyze the intent of the incoming message before drafting the perfect reply.
Written by
Abdul Ahad
ML/AI engineer and tech writer covering artificial intelligence, machine learning, software development, and the technology shaping our world. Passionate about making complex technical concepts accessible to everyone.